Neste tutorial, exploraremos quatro maneiras diferentes de adicionar bordas arredondadas às imagens usando CSS, JavaScript puro, jQuery e Bootstrap.
Método 1: CSS.
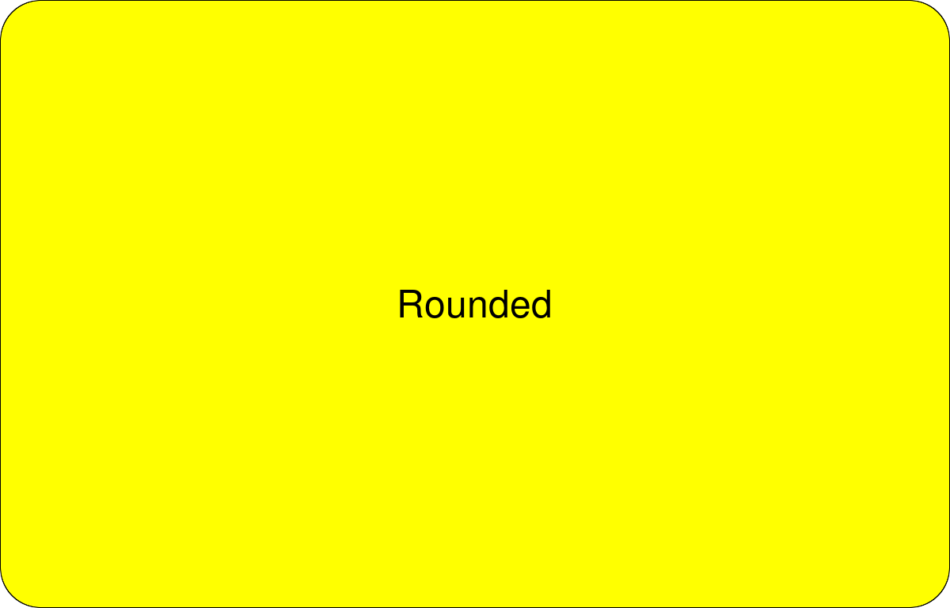
O método mais fácil de criar bordas arredondadas em imagens é usar a propriedade border-radius do CSS. Veja como fazer isso:
<!DOCTYPE html>
<html>
<head>
<style>
  img {
    border-radius: 50%; /* Change this value according with the degree of roundest needed */
  }
</style>
</head>
<body>

<img src="example.jpg" alt="Example image" width="200" height="200">

</body>
</html>
Método 2: JavaScript puro.
Você também pode criar bordas arredondadas em imagens usando JavaScript puro. Aqui está um exemplo de como fazer isso:
<!DOCTYPE html>
<html>
<body>

<img id="myImage" src="example.jpg" alt="Example image" width="200" height="200">

<script>
  document.getElementById("myImage").style.borderRadius = "50%";
</script>

</body>
</html>
Basicamente, adicionamos a propriedade border-radius, mas via JavaScript, o que pode ser útil em conteúdo dinâmico.
Método 3: jQuery.
Se preferir usar o jQuery, você pode obter o mesmo efeito com a função .css(). Veja como:
<!DOCTYPE html>
<html>
<head>
<script src="jquery.min.js"></script>
<script>
$(document).ready(function(){
  $("#myImage").css("border-radius", "50%");
});
</script>
</head>
<body>

<img id="myImage" src="example.jpg" alt="Example image" width="200" height="200">

</body>
</html>
Basicamente, o mesmo princípio do método JavaScript, mas com a notação simples do jQuery.
Método 4: Bootstrap.
O Bootstrap fornece classes incorporadas para criar bordas arredondadas em imagens com facilidade. A classe rounded-circle cria uma borda circular, enquanto a rounded cria uma borda ligeiramente arredondada. Aqui está um exemplo:
<!DOCTYPE html>
<html>
<head>
<link rel="stylesheet" href="bootstrap.min.css">
</head>
<body>

<img src="example.jpg" alt="Example image" width="200" height="200" class="rounded-circle">

<img src="example.jpg" alt="Example image" width="200" height="200" class="rounded">

</body>
</html>
Nesse caso, o Bootstrap cuida do CSS necessário e só precisamos usar a classe correspondente ao nosso objetivo.


